new
improved
Email Builder
Introducing Custom Field Preview in Email Builder! 🚀
We are thrilled to introduce a significant enhancement to our email builder's preview screen – the Preview Feature for Custom Field Rendering of contact information. With this new functionality, users can now preview precisely how custom fields will appear for their respective clients before sending out any emails.
Now, craft your personalized emails effortlessly, add custom fields in a snap, and preview how your contacts will see them – all in one go!
Problem Statement:
❓Previously, users faced challenges in previewing custom field data for multiple contacts, relying on the cumbersome process of sending test emails. This approach had its drawbacks:
- Cost of Test Emails:Sending test emails incurred additional costs.
- Multiple Test Emails:Multiple test emails were required to review rendering for different cases.
- Time-Consuming:The process was time-consuming and inefficient.
What We Did:
🌟With this new functionality, users can now preview exactly how custom fields will appear for their respective clients before sending out any emails.This feature simplifies the testing process and eliminates the need to create fake test cases, allowing for a more efficient and cost-effective approach to email campaign management.
Why we did it:
🤩- Cost Savings:Previewing emails eliminates the costs associated with sending test emails, contributing to overall savings.
- Time Effectiveness:Save time by effortlessly previewing custom field rendering for multiple contacts at once.
- Comprehensive Client Coverage:Ensure a flawless display of custom fields across various email clients without the need for extensive testing.
How to do it?
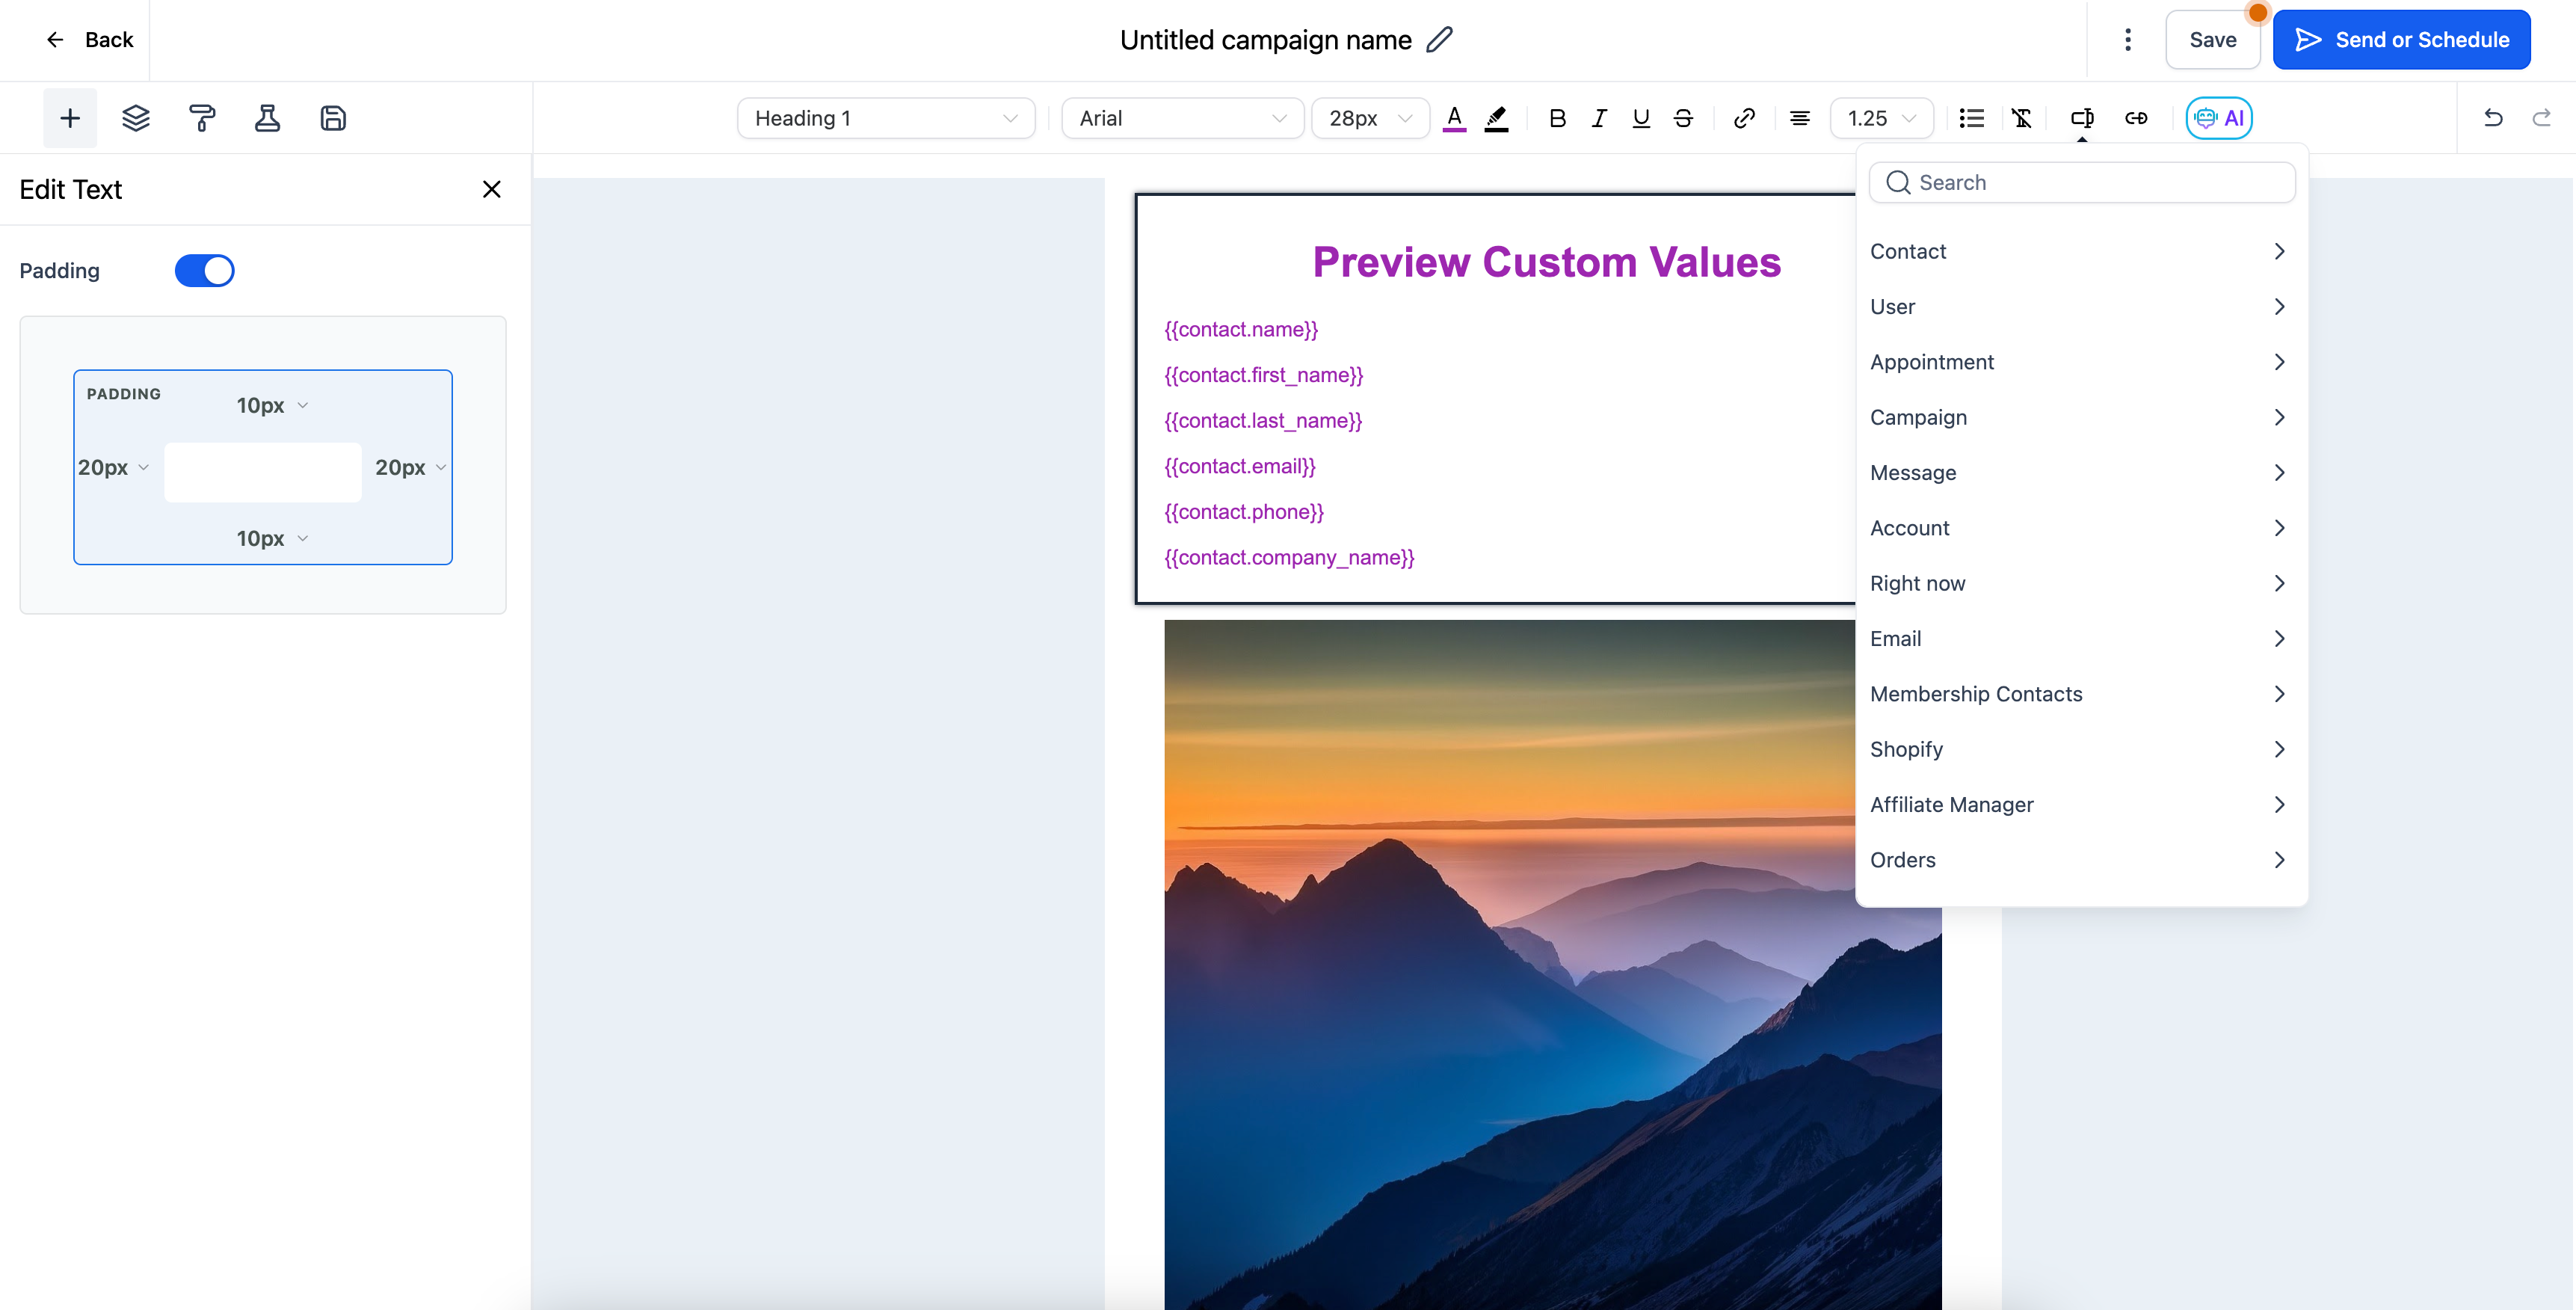
😎 a. Navigate to Marketing -> Email Templates to create your personalized email.
b. Within the Email Builder, incorporate custom fields of the contact based on your preferences.
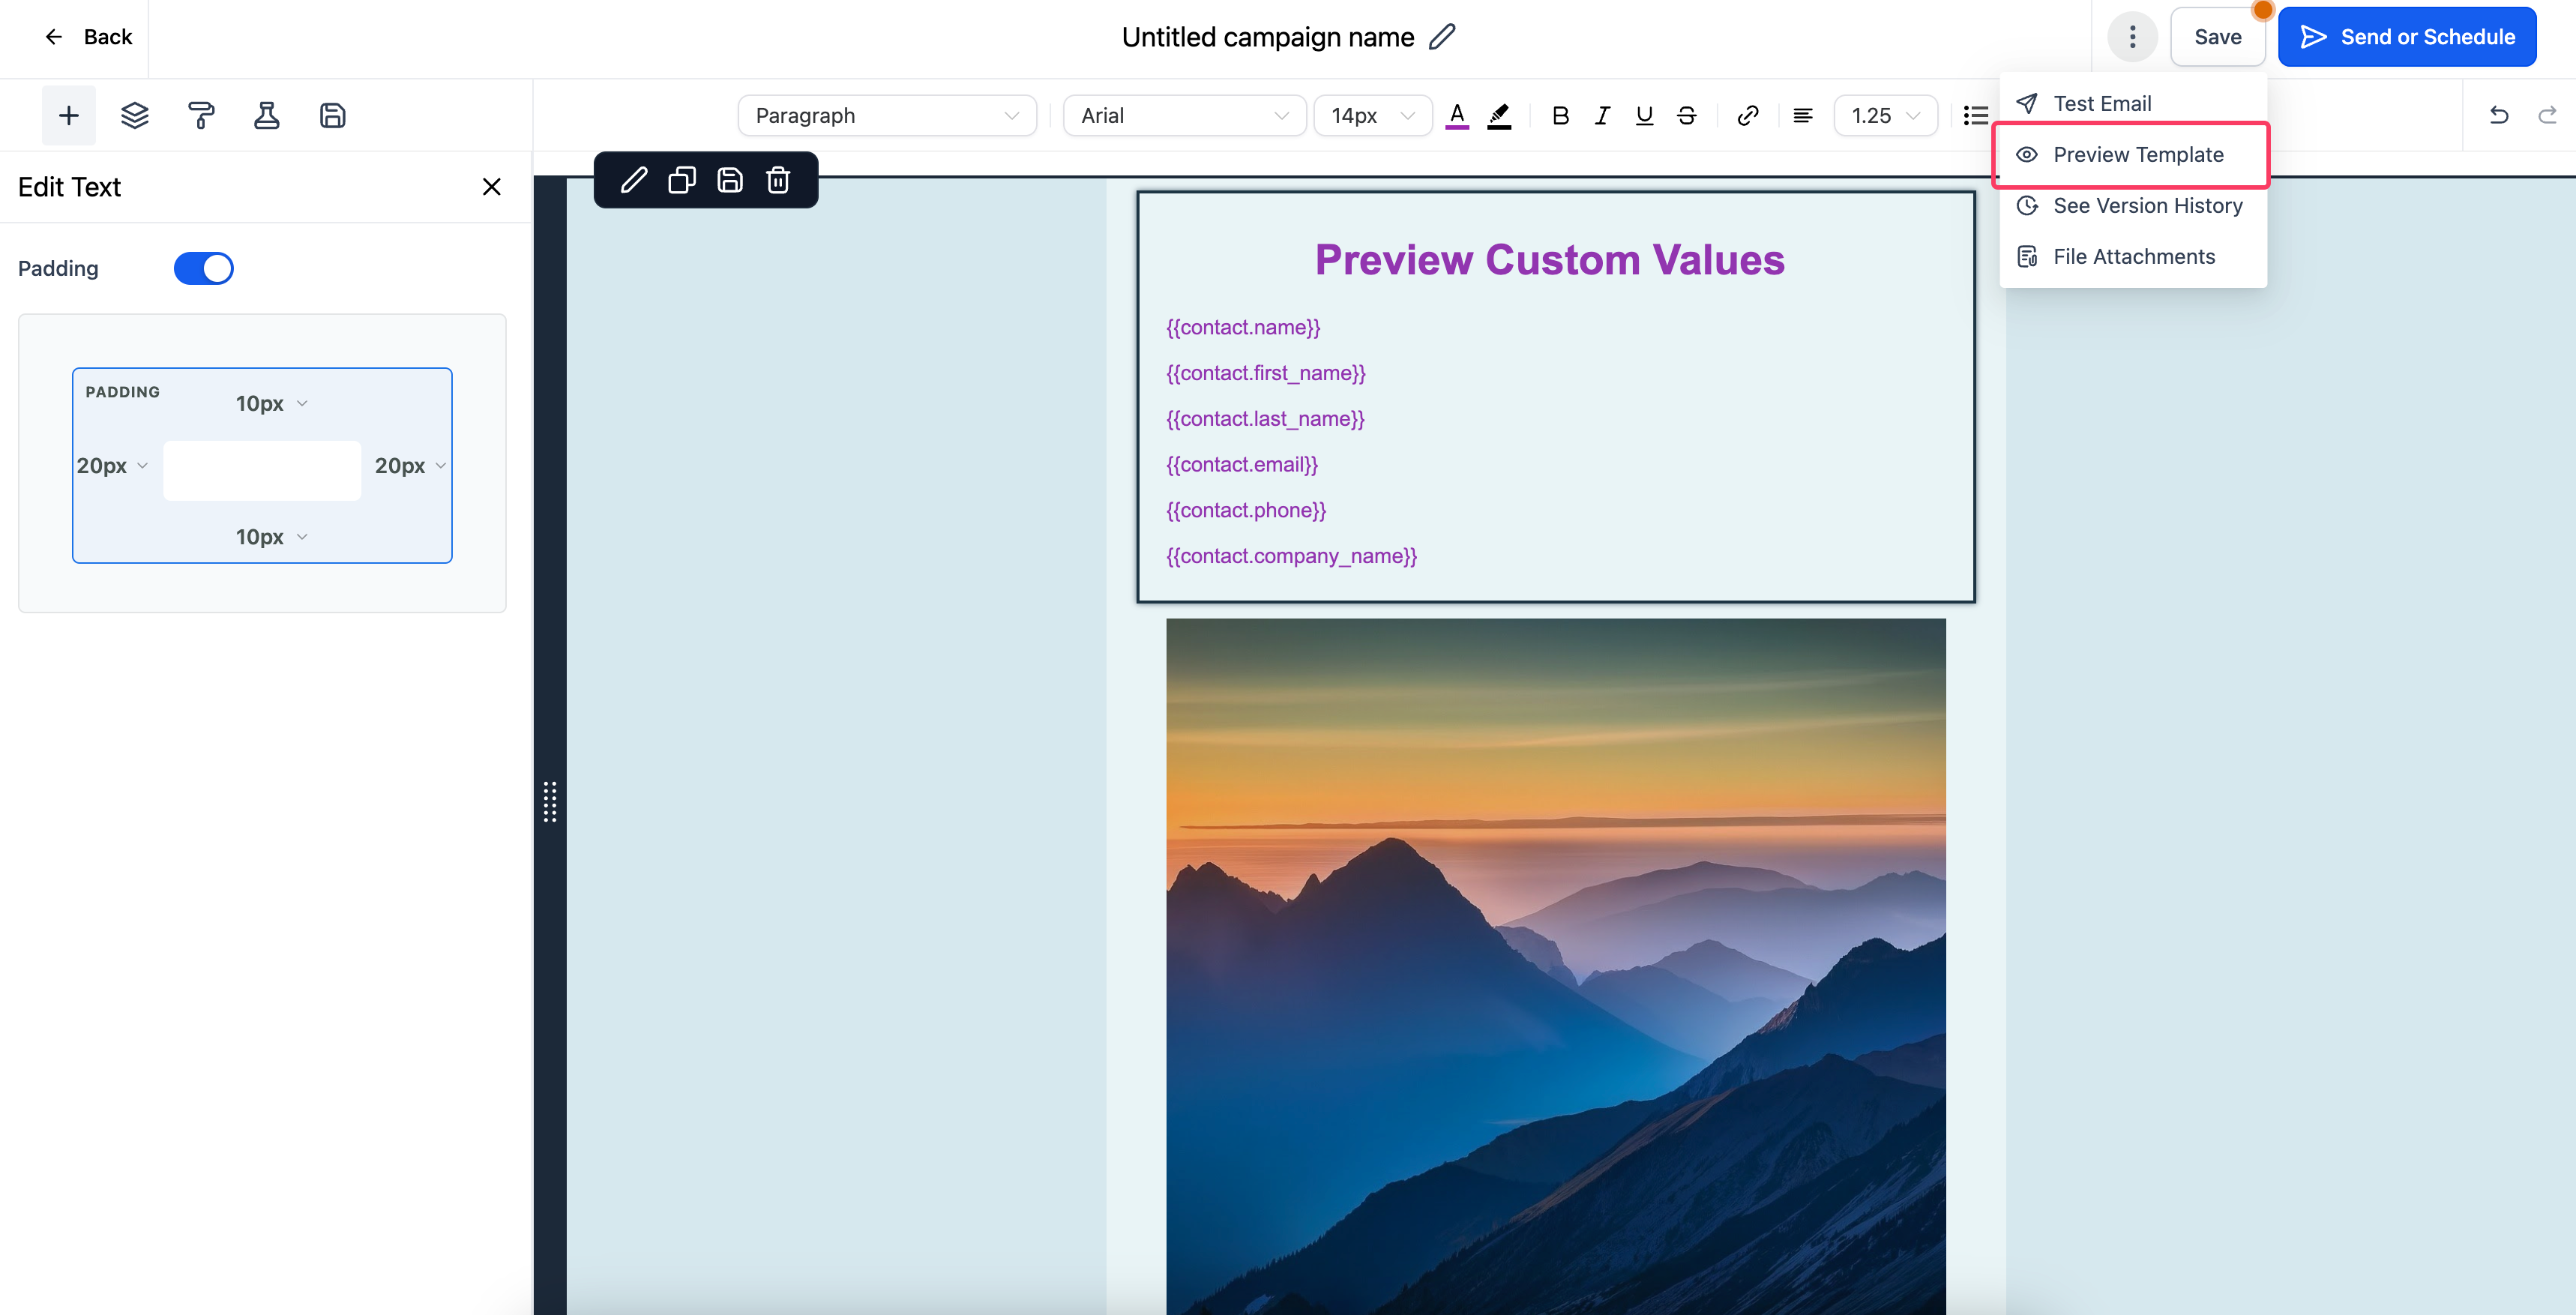
c. Click on the three dots located at the top right corner to access the
Preview Template option.
d. On the Preview screen, locate and select Preview Contact Info at the upper right corner.
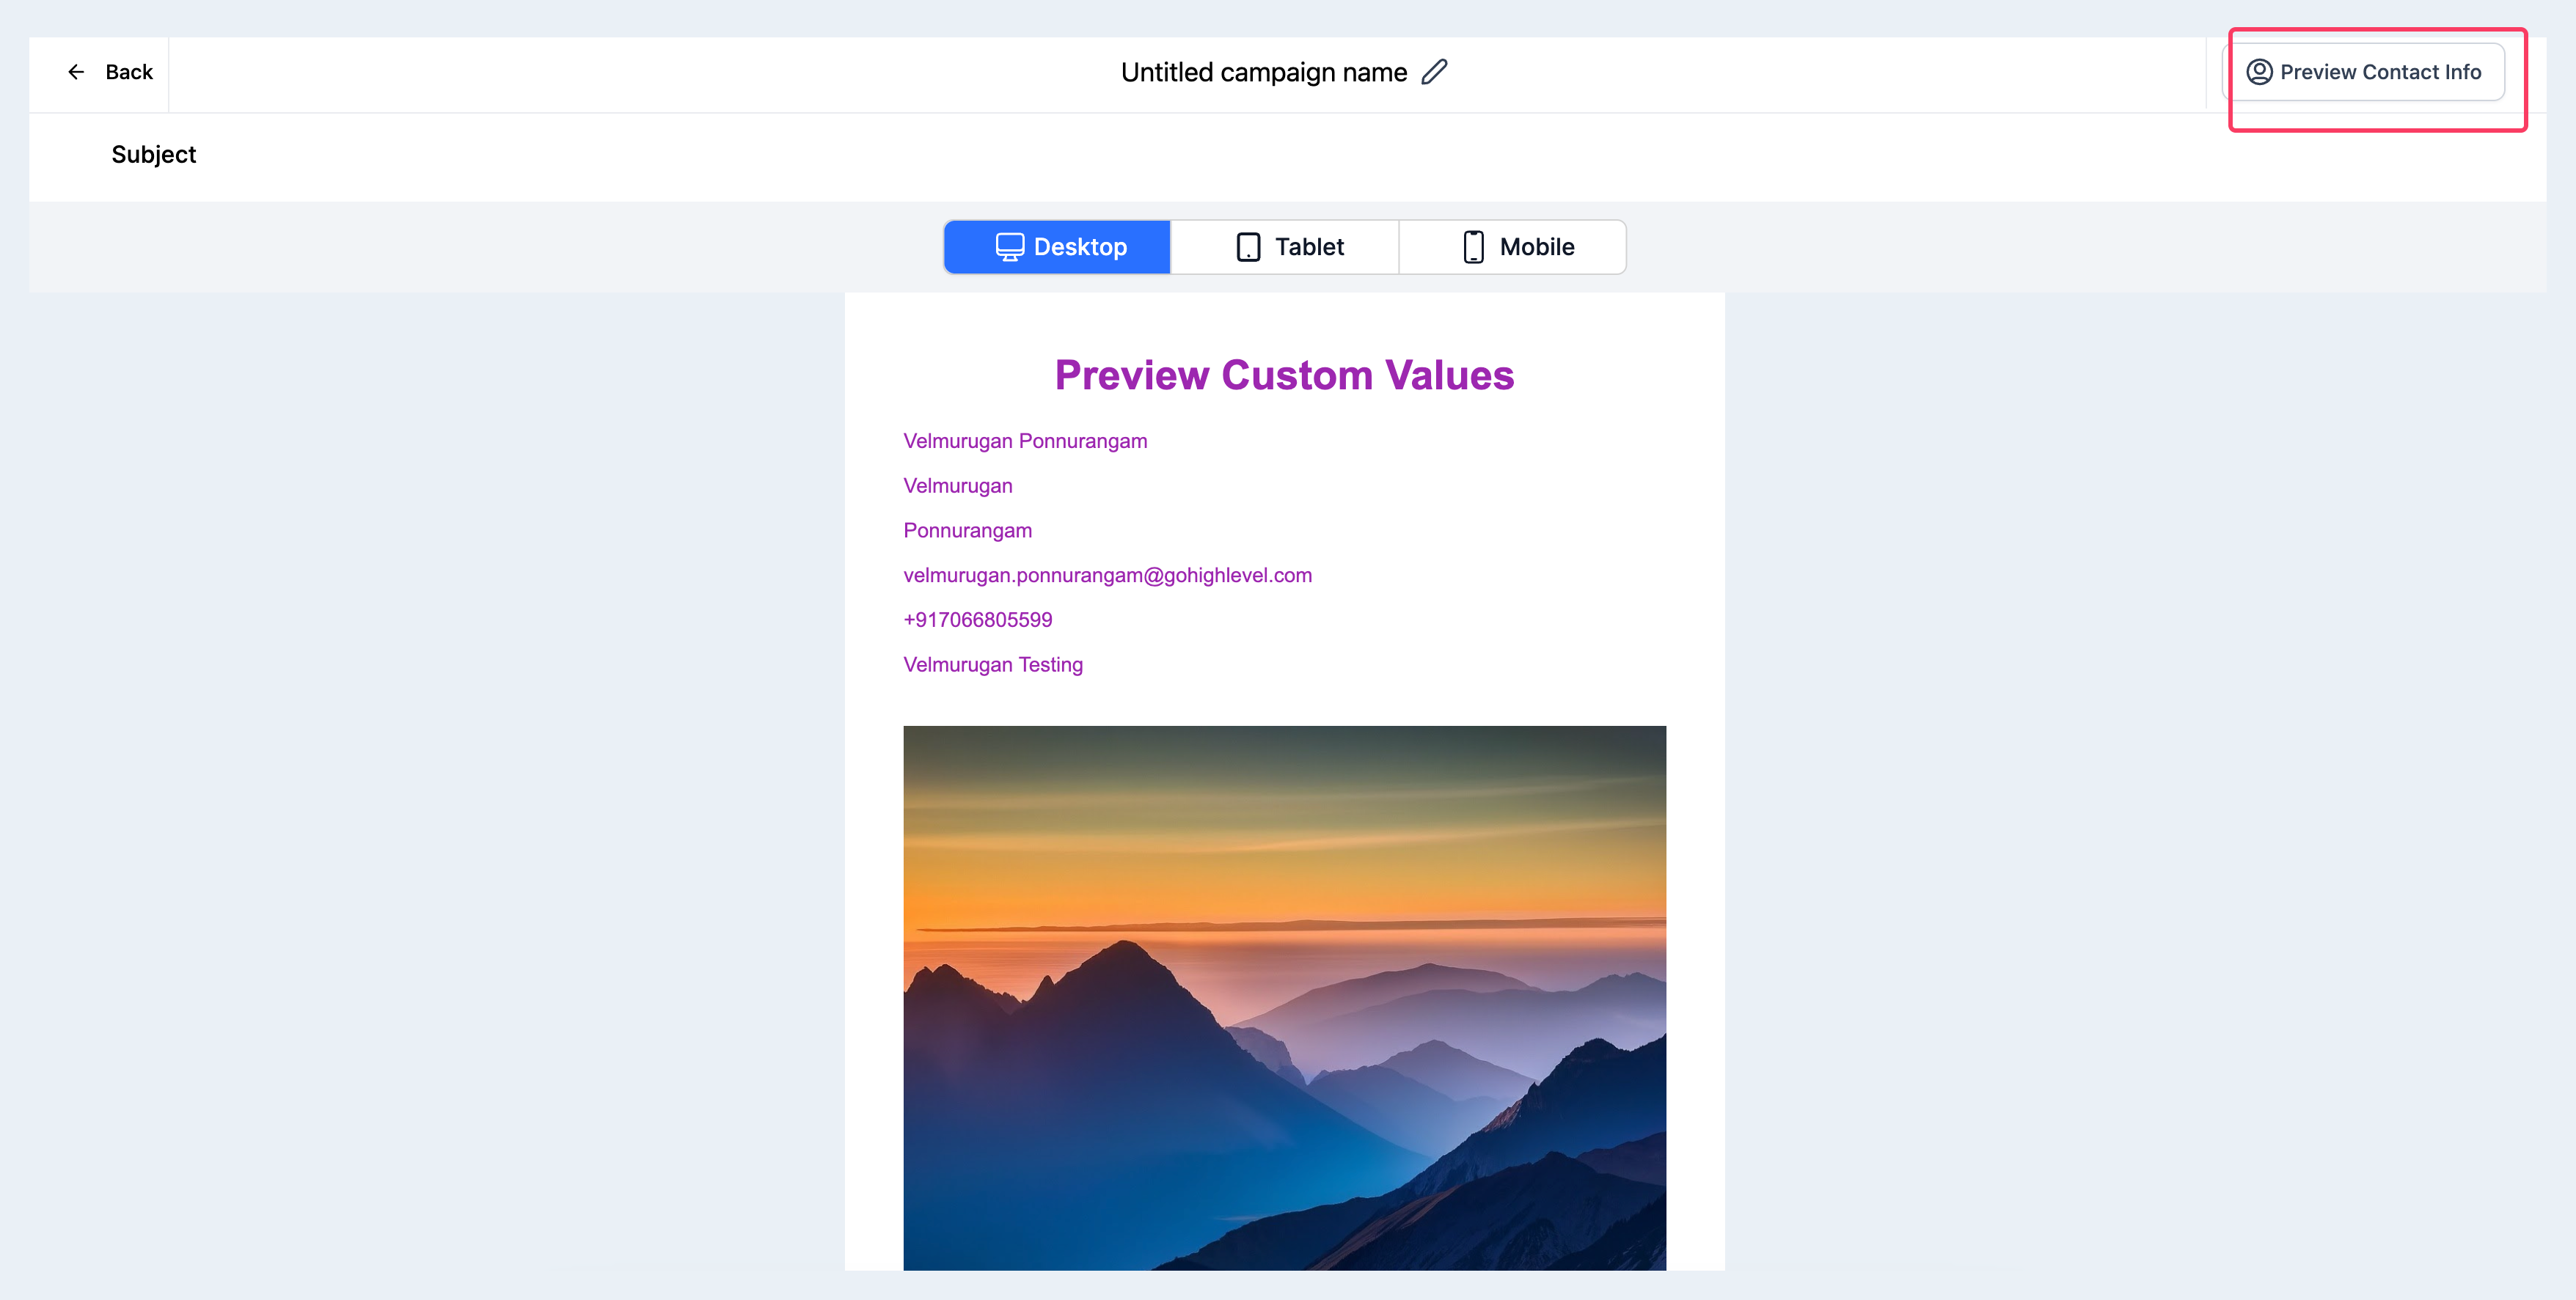
e. By default, a contact's information is displayed in the email. To preview as a specific contact, simply search for the desired contact from the search bar.
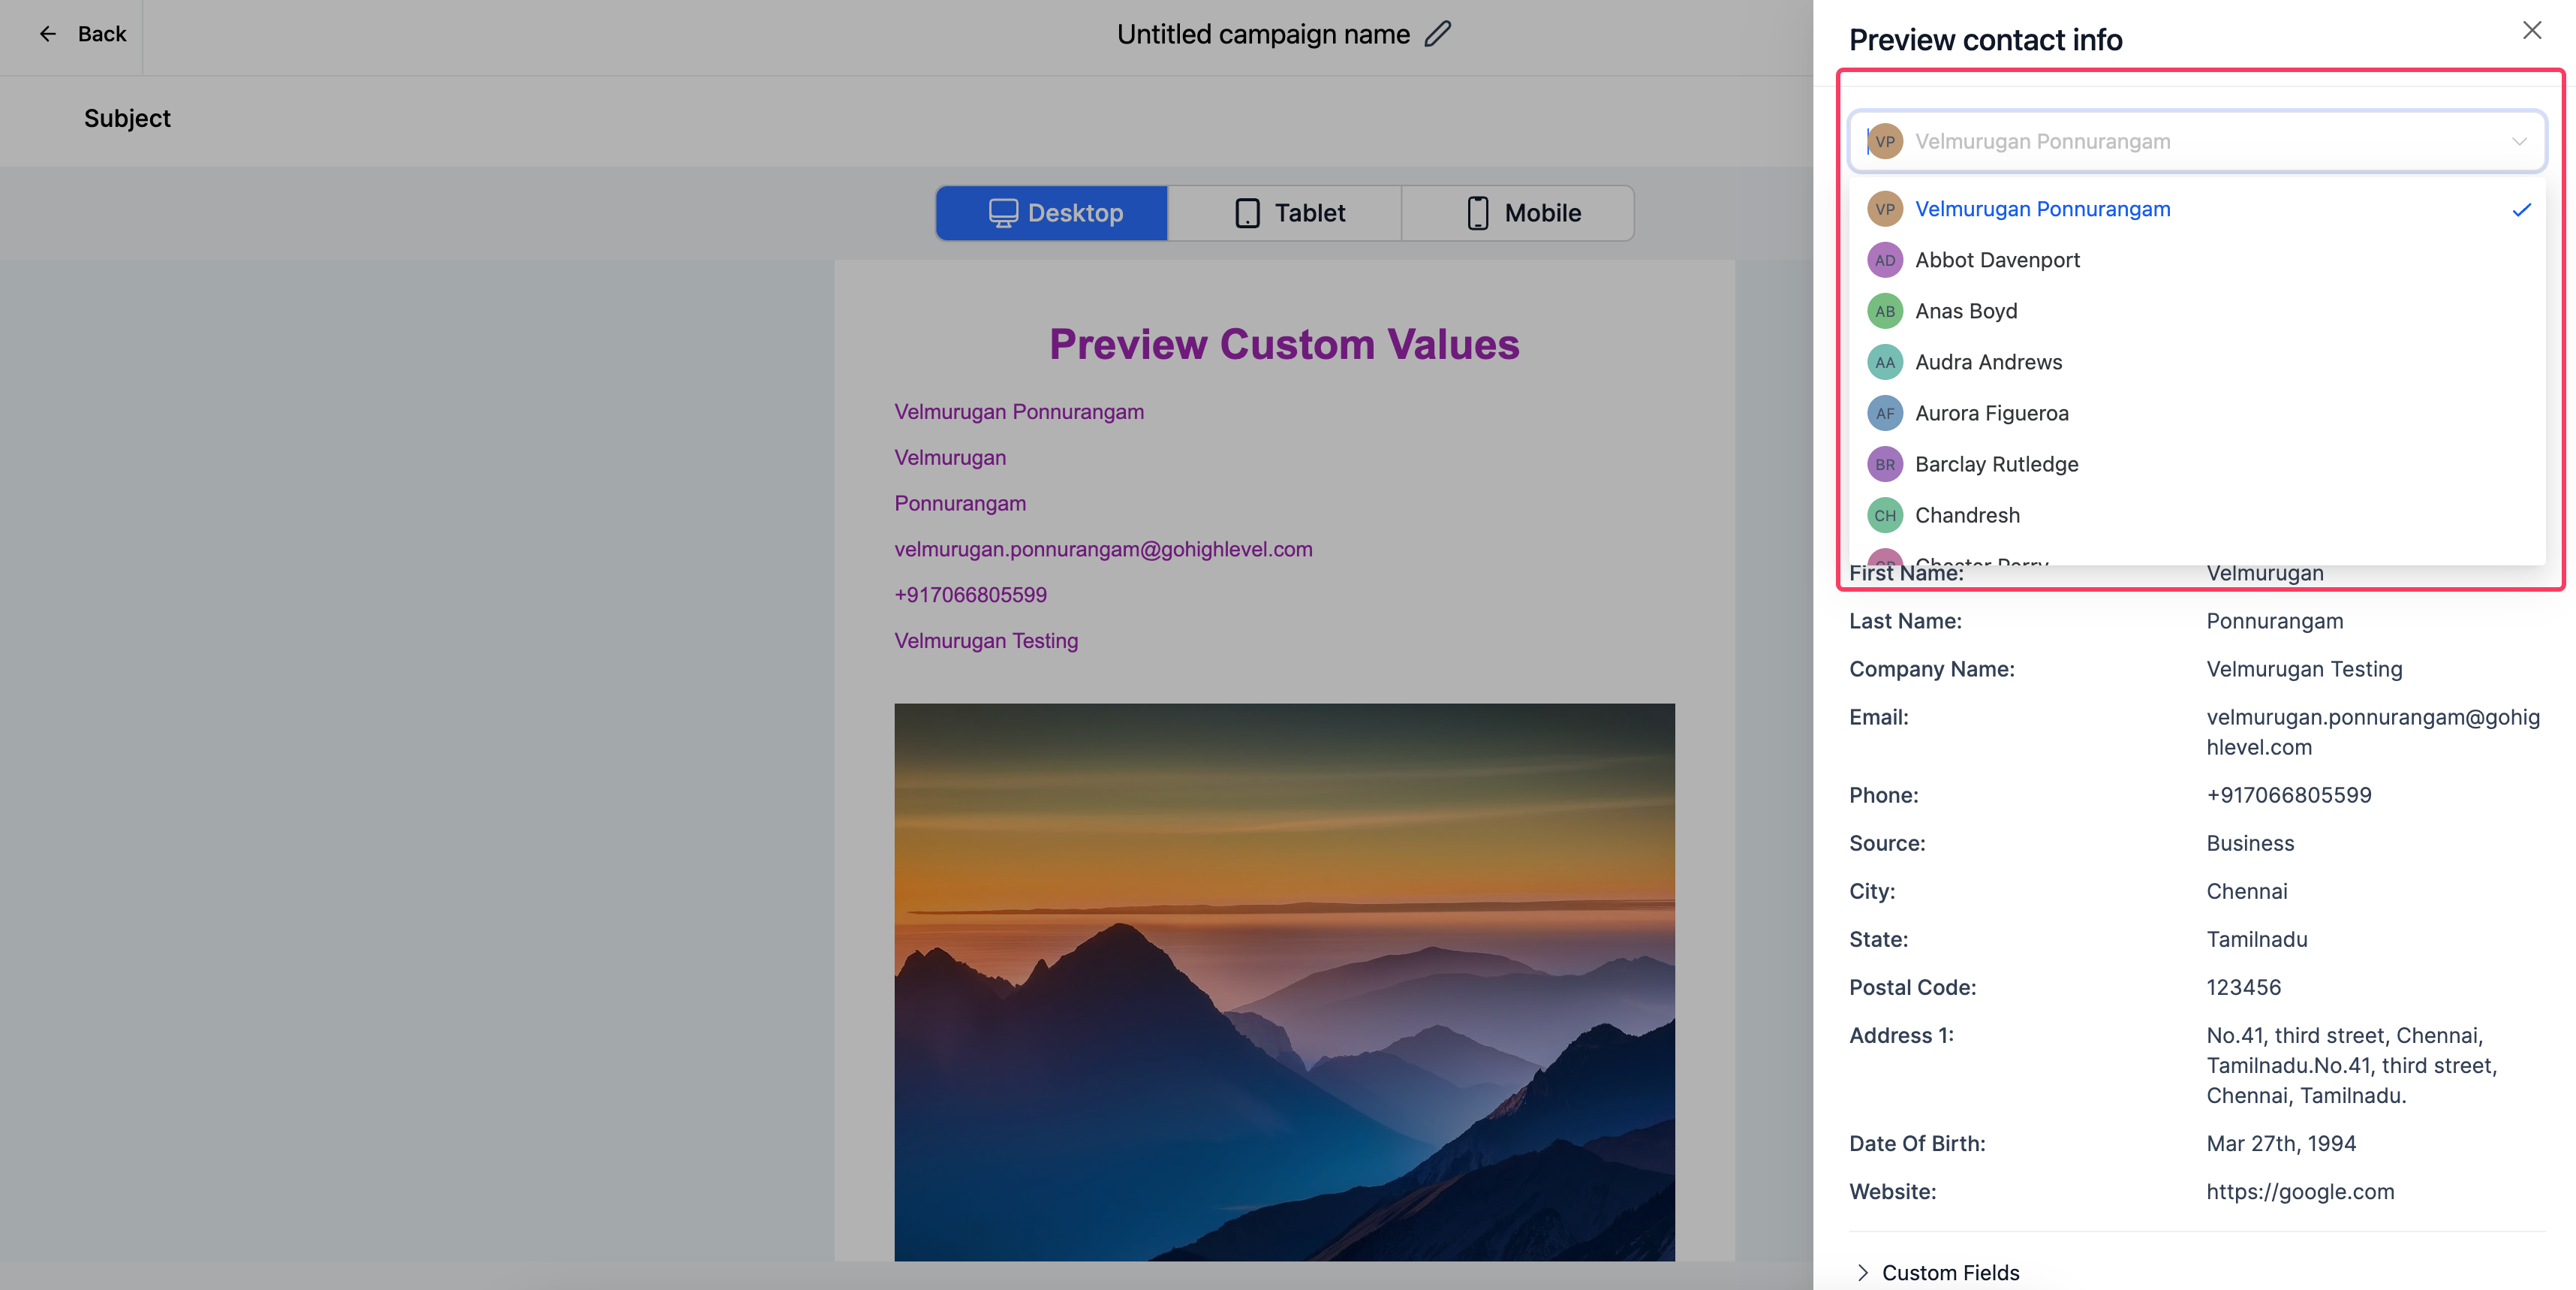
f. You'll observe the contact's information and custom field data on the right panel, alongside the email preview on the left. This gives you a glimpse of how the selected contact would view the email.

g. Utilize the search bar once more to find a different customer for further previewing.
To get more detailed steps, use the help article.